Regret… It’s a word that weighs heavily like no other. It can be the regret of not having enough time with your best friend — or not being able to save the life of someone on the verge of greeting death. In all such scenarios — one thing is true — none of it goes easy on your heart or mind.
It pulls you down, doesn’t let you move forward, and makes you second-guess every decision you’ve made in life. So, instead of letting factors like time and lack of knowledge add to the pile of regrets, many individuals are making a better choice.
The journey to making a lasting change in someone’s life doesn’t take much — but a few steps. It all starts with enrolling in a CPR certification program — which is preferably authorized by either the American Heart Association (AHA) or the American Red Cross (ARC).
To know more about the 7 steps of CPR, keep reading below!
Seven Steps of CPR & More — What You Learn During a CPR Certification
The regret of not doing the right thing at the right time has the potential to haunt you for life.
A loved one drowns in the middle of a cruise adventure.
A stranger seated next to you suffered from a cardiac arrest.
… the list can go on for unfortunate circumstances that have the power to hold one’s life by a fragile thread. In this, people don’t have a choice but to equip themselves with a skillset that’ll eventually come in handy.
As it turns out, saving lives doesn’t necessarily come under the radar of a healthcare practitioner’s responsibility. It can be done by someone from any kind of educational background. The only condition? They know how to administer CPR to an individual in distress.
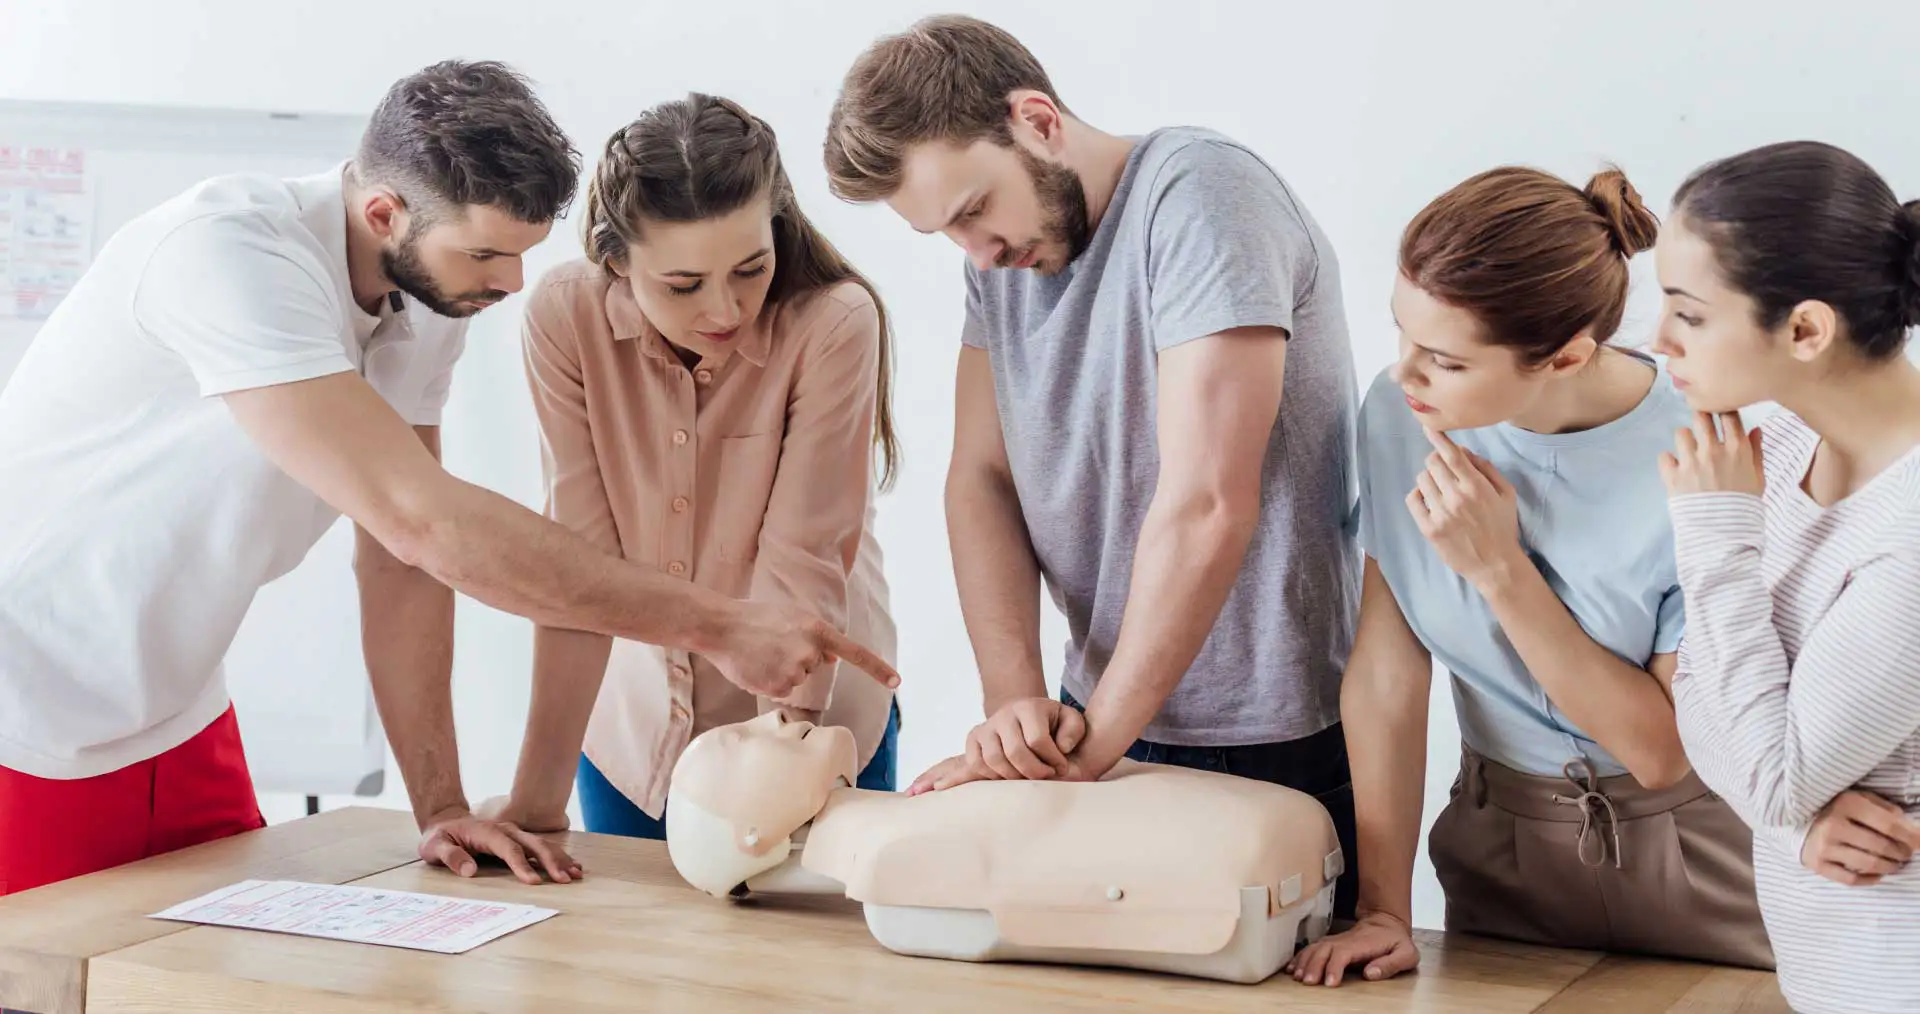
And so, it’s no surprise that a considerable part of the global community is gaining interest in CPR training. With that, the next thing you have to focus on is the seven essential steps taught during CPR online classes. You see, these are necessary to keep in mind whenever an emergency arises.
Here’s a brief list of the steps, followed by a detailed explanation for each of them.
- Danger
- Response
- Send for Help
- Airway
- Breathing
- CPR
- Defibrillation
DRS ABCD — that’s how it goes.
So… what do each of these steps mean? Let’s find out below!
1. Danger
Real ones know this — when you’re caught in the middle of a medical emergency, whether as a random bystander or a loved one, all you want to do is just reach out and help the victim to the best of your abilities. But does that always work this way? We don’t think the same.
In fact, identifying danger is one of the most important protocols to follow as you proceed to increase your skillset with a CPR certification program. Before you start administering CPR, you need to check whether the area is safe to enter.
Check for traffic, live/unprotected electrical wires, fire, water, fumes, wild animals, or an aggressive person. If all these aspects are contained, you can proceed with the next step.
2. Response
You wouldn’t know what kind of help the victim needs as they lie in a condition of dire emergency. Naturally, you’d have to assess the situation and check to what degree the victim is aware of their surroundings.
A good way to do that is to ask them a series of questions (preferably in an unusually loud voice). Obviously, it’s for the purpose of diverting the victim’s attention towards you if they’re visibly in a drowsy state.
For this, the COWS method works best. It refers to the set of useful questions that’ll definitely help with eliciting a response from the victim. It goes like:
- Can you hear me?
- Open your eyes!
- What’s your name?
- [Will you] Squeeze my hand?
Upon asking these questions — that you learn during the time of gaining your CPR certification — if no response shows up, gently shake their shoulders. But if they still don’t say anything, it means they’re unconscious.
3. Send for Help
Once you do recognize the state of emergency, it’s important to dial up emergency services. You can inform them either on your own or ask someone besides you to do it. Even if you have the skills to perform CPR by yourself — through gaining a CPR certification online, it still wouldn’t suffice for a thorough evaluation & treatment that only a healthcare practitioner or an emergency services provider can attend to.
Something to Think About
While dialling up emergency services, be sure to let them know about the observable age of the victim, their gender, their current condition, and the location of the victim and yourself.
The call can go like: “I have an unresponsive male adult, probably in his thirties… he just drowned in the swimming pool, and we’ve pulled him out. He’s not speaking at the moment. Please arrive at the XYZ location, stat.”
Other than that, you may also find any healthcare-related card — which can either be the victim’s emergency number [for notifying loved ones], a diabetic card, an allergy indication, or a board-approved DNR. Whatever document it may be, you’re supposed to honor it — despite your conscious mind telling you otherwise.
4. Airway
Now comes the important part. For CPR certification, it’s a part of your course plan to open the mouth of the victim to check for any foreign materials in order to make passage for smooth breathing. If the person is found to be having either a bite of food, vomit, or blood obstructing their airflow, you’re supposed to turn them on their side and clear the airway.
Afterwards, you’re supposed to perform a head-tilt, chin-lift maneuver, which would result in properly opening the airway.
5. Breathing
As soon as you’re done with clearing the airway, you must ensure that the victim is breathing properly. From what you’ve been taught in your CPR training, you’ll need to place your ear close to the mouth or nose of the victim and check whether you’re feeling air on your ears — which indicates the manner of breathing for the victim.
A good tip is to stay in the same position for at least 10 seconds and proceed accordingly. However, if you hear gasps, then that’s an alarming sign — it’s not normal breathing.
6. CPR
The fact that the victim isn’t breathing normally (or not breathing at all) clearly indicates that they’re in need of an immediate administration of CPR. As taught in the sessions of your CPR certification, you’ll have to place the palm-wrist area of one hand over their chest and the other on top of it.
Covering 1/3rd of the chest’s depth, you’ll be required to perform around 100 to 120 compressions per minute. Upon repetition of this process for 30 rounds, you’ll then have to administer two rescue breaths.
Interestingly, the tempo of the song Stayin’ Alive by the Bee Gees is a good way to remember the ideal pace of CPR.
7. Defibrillation
At this stage, things become even more critical — but at the very same time — hopeful.
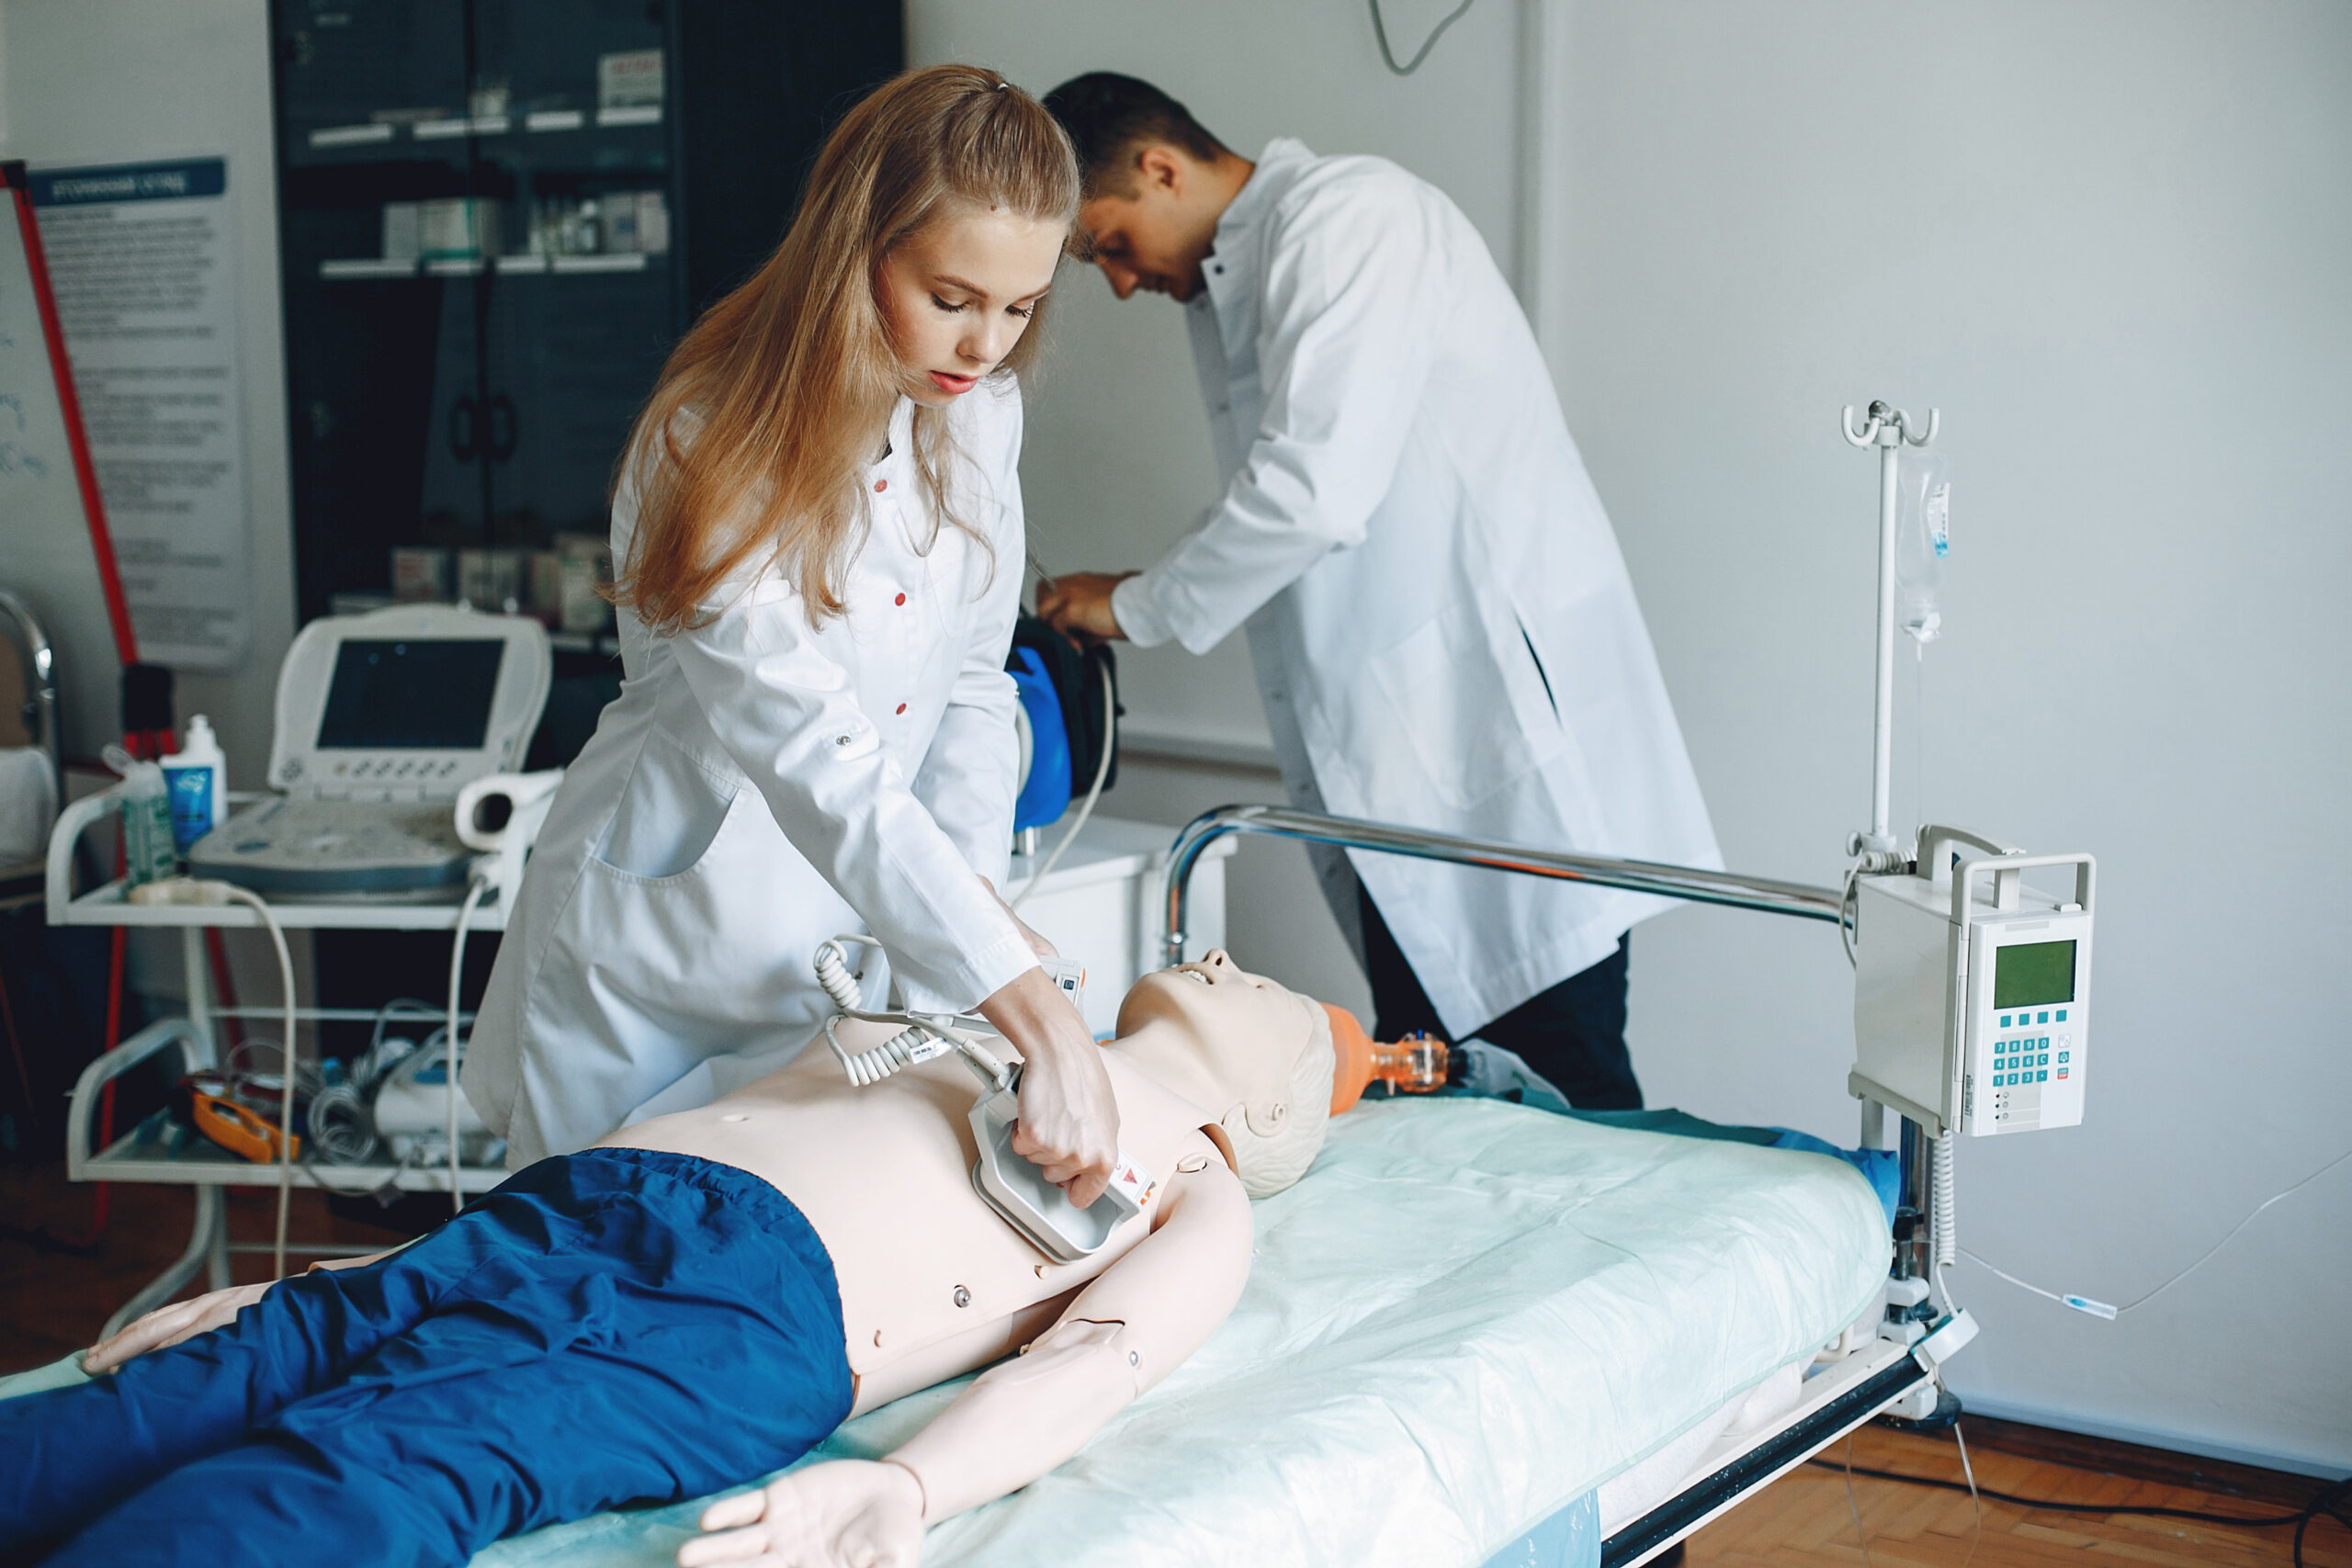
That said, defibrillation refers to the use of an Automated External Defibrillator (AED), which is a device designed to deliver an electric shock to the heart to restore its normal rhythm. Needless to say, it’s one of the most useful life-saving tools you’ll be introduced to during the training.
The AED devices are there to guide you — step-by-step. There’s no rush, just a calm set of instructions. Though once it arrives, be sure to follow these steps:
- Turn it on
- Follow the voice prompts
- Attach the pads to the victim’s bare chest (as illustrated)
- Make sure that no one is touching the person while the shock is delivered
The State of Mind You Should Ideally Have at the Time of an Emergency
No matter how many CPR online classes you take or how well you memorize the steps, it won’t be enough. The truth is, when a real emergency happens, panic instinctively settles in.
Your heart races at an unimaginable speed.
Your thoughts run amok as if a bull is after them.
And in those moments, you simply freeze.
But don’t worry just yet — because this is where your training for CPR certification takes control.
There’s no need to feel overconfident — you just have to have enough focus to act right.
Here’s what your mind should make you do at the time of an emergency.
- Stay as calm as you can
- Focus on one step at a time
- Trust the process & remember what you learnt during your CPR classes
- Encourage yourself with every small step you successfully take
But, Who Should Consider Learning the Essentials of CPR Training?
If you want the short answer — it’s everyone.
Getting trained in CPR isn’t about someone with a specific educational or professional background. You never know if you’re at the right place at the right time — having the ability to resuscitate someone in grave danger.
However, if you are still looking for a much more specific list, we do have a few people who should definitely consider signing up for this certification. These are:
- Parents
- Caregivers
- Teachers
- School staff
- Fitness trainers
- Coaches
- Office employees
- Lifeguards
- Hospitality staff
- With family members at high risk
You have to bear in mind that emergencies never come with a warning. They just do.
But once you’ve learned the essentials of CPR certification online, the journey gets easier because you’re not left helpless for when the time comes.
So… Are You Ready to Save Lives With CPR Online Classes?
Saving lives is not the work of a fictional superhero… Neither is it a miracle by a healthcare professional. Sometimes, it’s luck mixed with timely attentiveness.
In this, you can either hope not to face a situation where someone needs help — or better — prepare yourself with a CPR certification so that you’d know exactly what to do.
At CPR Training Clinic, the goal is never just to teach you the steps of DRS ABCD. It’s to prepare you for moments where a thin line exists between saving lives and regretting an opportunity you could’ve taken with the right skills.
Needless to say, if you’ve been thinking about enrolling in our course, consider this blog a sign to move forward.
For more details, visit our website today.
FAQs
1. Why is CPR knowledge important?
CPR knowledge is important for helping one act immediately in life-threatening situations, which ultimately aids in keeping a person alive until the emergency services arrive.
2. What acronym best helps understand the 7 steps of the CPR process?
The acronym of DRS ABCD, better known as doctors abcd, refers to these 7 steps:
- Danger
- Response
- Send for help
- Airway
- Breathing
- CPR
- Defibrillation
3. Is there a reason why people not trained in CPR are not advised to perform it?
Yes, an incorrect technique can cause more harm than good. However, in emergencies, basic chest compressions are relatively better than doing nothing.
4. What refers to the golden rule of CPR?
The golden rule of CPR states that one should act quickly and refrain from delaying the process, which asserts the importance of early CPR administration.
5. What are some of the common CPR mistakes one must avoid?
Some of the most common CPR mistakes are:
- Not checking for health indicator cards (for allergies or medical history)
- Shallow compressions
- Wrong hand placement
- Delays
- Stopping too often